
Instructions
Achieve picture-perfect nails with our simple and straightforward instructions.
1
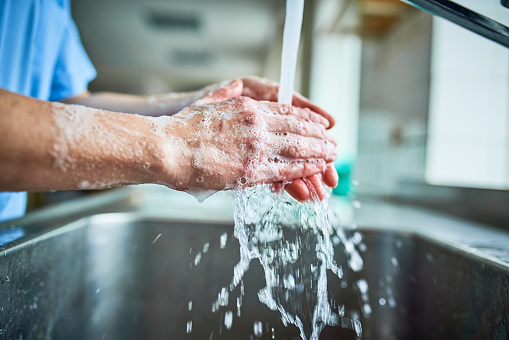
Clean and wash your hands with an oil free soap don’t worry about having a smooth surface. Dry your nails and apply your WRAP. The Nail Wrap is designed to be applied first as the prepping the nail is important. The Wrap is positioned to cover the whole nail.
2
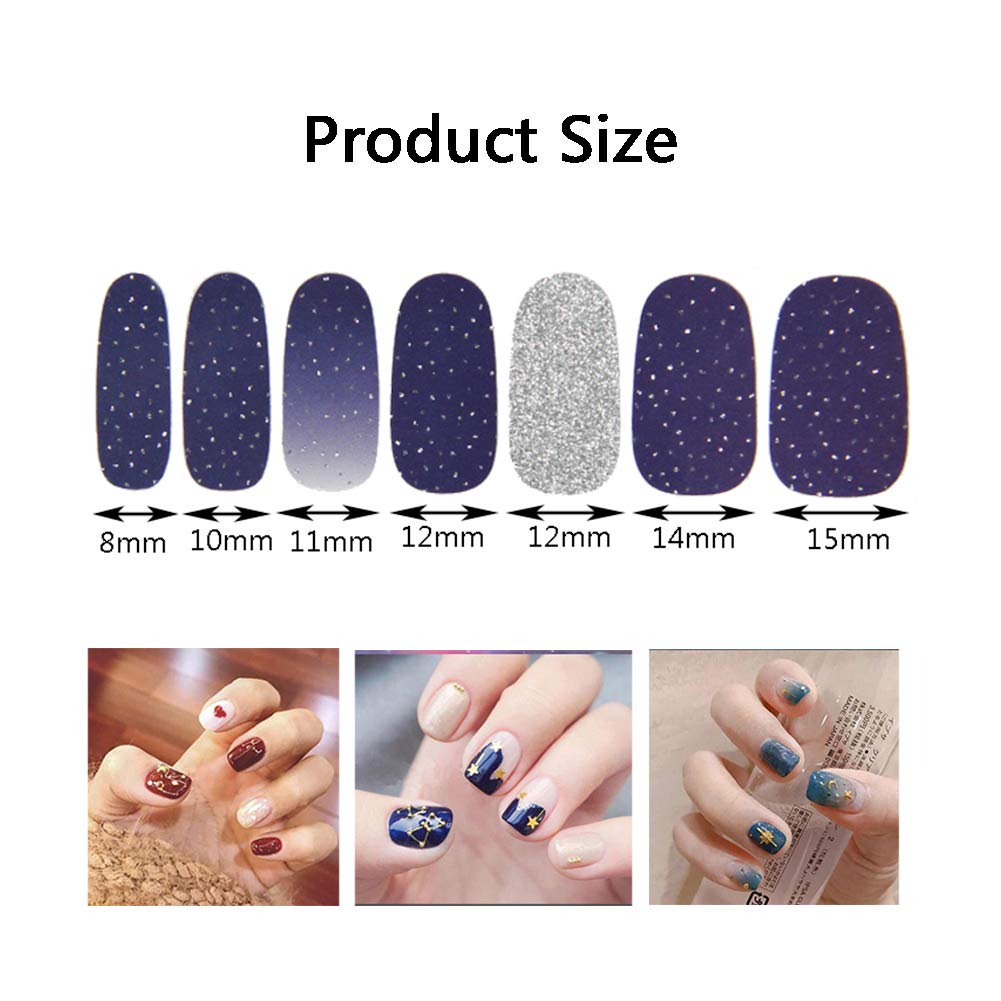
Size the NAIL WRAP use the clear sheet to hover over your nail and find the best match, peel and apply. Please note : for best results find the size that covers the middle of the nail and leaves a small silhouette of space on the side of the nail. The goal is to cover the whole area and trim off the excess in the front of the nail edge. As you match as close to the nail size as possible please note that the middle of the nail is where the nutrients are transferred in the nail bed and it is best if it is covered with the Nail Wrap.
3
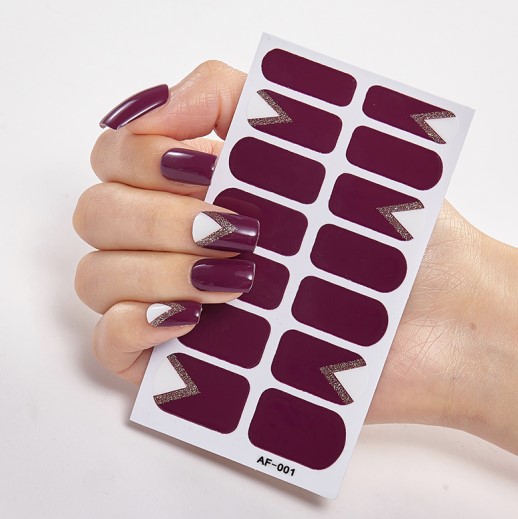
COVER THE NAIL WARP WITH A TOP COAT TO SEAL THE PROTECTIVE BASE ATOP THE NATURAL NAIL. Please Note: Your Natural system is now covered with a Safe HYPOALLERGENIC SHIELD adhesive that will protect the body’s Matrix System Apply your nail ART and design or desired nail art look after the top coat dry’s. It’s simple to place the Nail Wrap just peel and stick it in the area you want. Remove excess, use an emery board at an angle to clean the tip or edge.. Apply a “Top Coat” on the tip and sides to seal everything or use a UV top coat or lamp on gels. Shape your free edge and don’t forget to cap with a top coat.o.
4
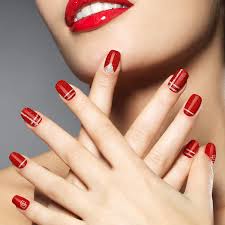
After the top coat dries you can apply a tip, nail art is applied on the “dry nail” and shaped or buffed, just clean off the residue; add a “top coat” and or use an UV light and coat for gels. NOTE: “top coat” or “cap” or “crowning” the areas on top and in front of to make sure you have sealed on your entire nail and art accessories. Lasts one or two weeks and no prep coats required. Don’t forget to cap the tip of the nail! Capping the free edge will keep the wrap from dissolving in water. (Top coat under the free edge is recommended.).
Classic layout
Master the art of flawless nails with our foolproof step-by-step instructions.
Unlock the secrets to flawless nail application with our step-by-step instructions at EzOnNails. From prepping your nails to applying the perfect coat of color, our easy-to-follow guidelines will guide you towards salon-worthy results in the comfort of your own home. Whether you’re a beginner or a seasoned pro, our detailed instructions will ensure a seamless and professional-looking manicure every time. Get ready to elevate your nail game with our expert guidance and achieve nails that are nothing short of perfection. With EzOnNails, nail artistry has never been easier.
